How to Make Awesome GIFs that Boost Brand Awareness
 Ooh, I just love a good GIF! I also love to make awesome GIFs, too. They're perfect for every situation, really. They look great in emails, in your social media channels, and even make great responses! They're also an amazing opportunity to spread brand awareness with custom GIFs in Instagram Stories.GIFs have taken the internet world by storm. The reason they're so attractive for businesses is because they're incredibly engaging and affordable. GIFs have the same impact that videos do, but aren't as costly. Since they're short snippets, they're easier to consume. This increases their views and explains why they have a high retention rate.I've been creating GIFs with my images for both my own marketing and other brands for a few years now. Throughout that time, GIFs have become quite popular. I've been asked a lot of questions as to how I create them, so thought I'd share my step-by-step!
All you need for this tutorial is Photoshop and a pretty image to start with!

1. Brainstorm your GIF
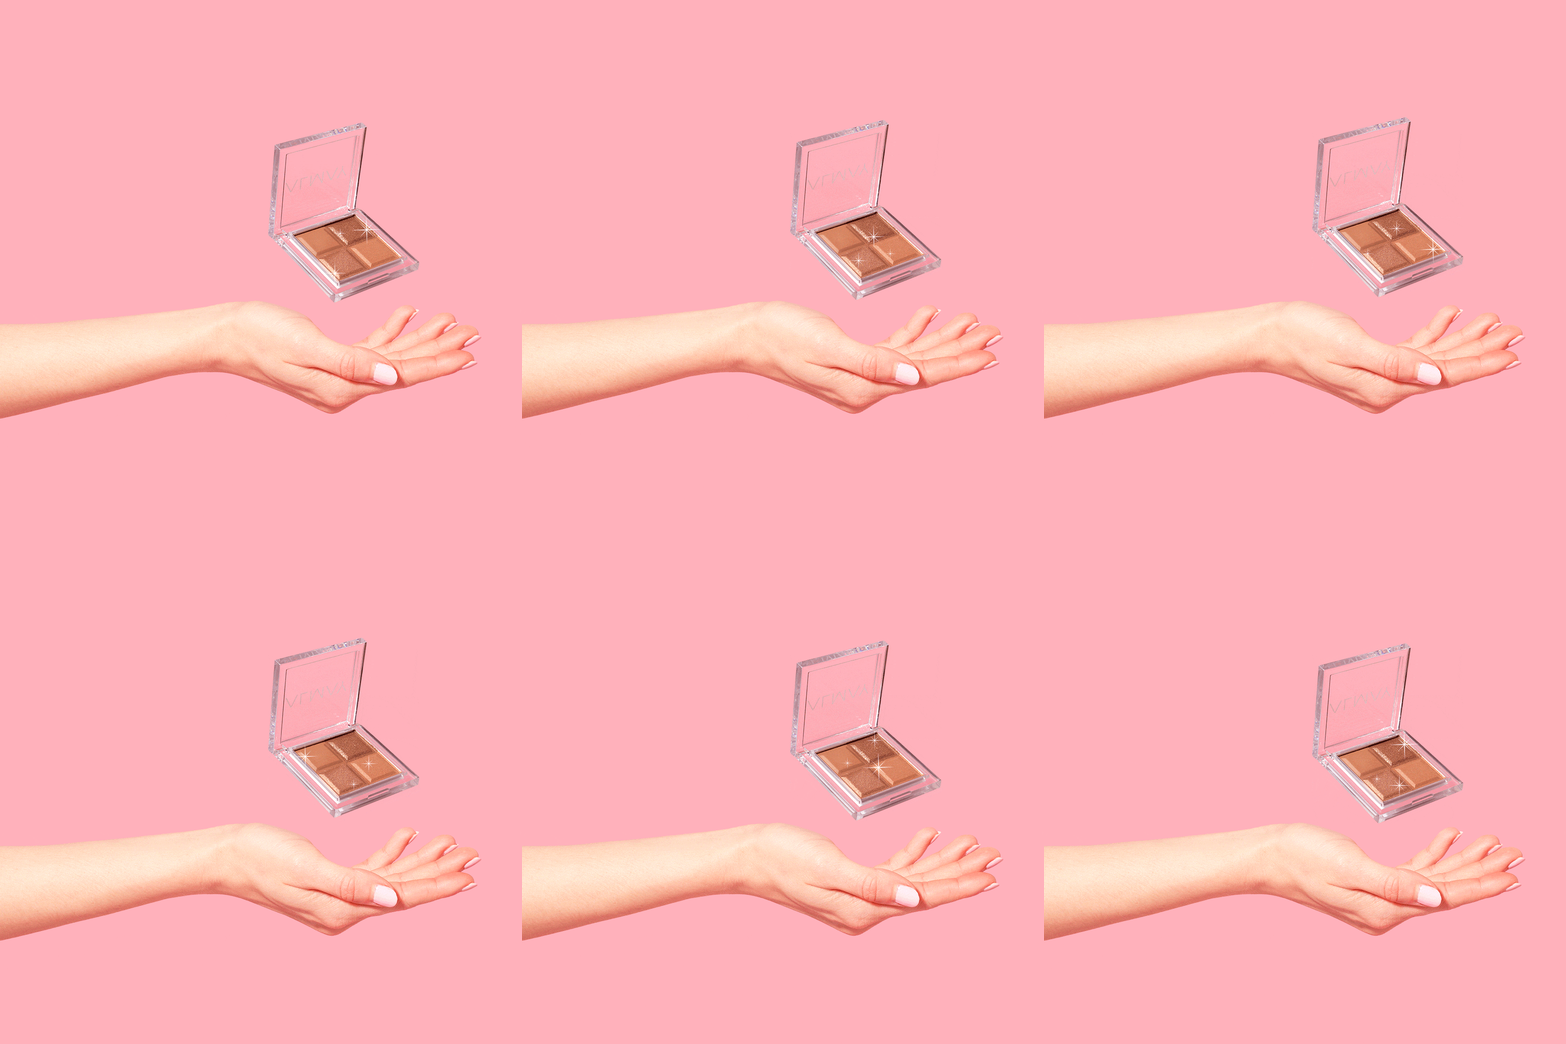
It's okay if you only have one image to start with. Even though GIFs are made from multiple images, you can create your animation with only one! The GIF above was made with one photo. All I did was move the eyeshadow up and placed the sparkles in different areas for each frame. Then, I just repeated those frames in reverse to make it appear as if it were floating up and down.Starting with some rough sketches of what you what your animation to do will really help with the placement of your elements beforehand.
2. Create frames in your Layers panel
Once you have the image you like, we're going to need to make frames of it in our Photoshop layers.If you already have a series of images beforehand to create your animation, perfect! You can import those images easily into layers by clicking File > Scripts > Load Files Into Stack. From there, you can select your images that you've created and Photoshop will put them on their own layer.I typically edit my photos and design my GIFs right in Photoshop, with each image in its own group. I like to label and organize my layers as F1, F2, etc. in the Layers panel so that I clearly know which layers are supposed to be on or off. By organizing them in groups, I can still maintain all my photo edits within that one file, as opposed to creating separate files. Once you've laid everything out, double check it. Editing frames once you start animating them can be a nightmare. Toggle layers on and off to make sure everything's lined up the way you want and on the correct layers. If you need to simplify your layers, you can combine the layers that appear together. To do this, just hold Command and click the layers you want. Then, right click and select Merge Layers.If everything is to your fancy, go on to the next step!
3. Animate it!
Once everything looks good, we can start putting them together! To do this, we're going to need to open up our timeline. Go to Window > Timeline and create a new frame animation. If you don't see it, click the dropdown menu and select Create Frame Animation. This will create the timeline that we need to animate our layers.
 Since I organize my frames in groups, I manually put my GIF together. This is where our layer labeling will come in handy!Create a new frame by clicking the button that looks like a piece of paper in the bottom right of your toolbar, indicated by the yellow circle.Then, toggle the frame on by clicking the little eyeball icon in your layers panel. When you do this, also make sure you're toggling the previous frame off.Continue to do this until your GIF makes a complete cycle that can be repeated.
4. Time it
Now it's time to set a delay for the frames! I typically like a fast moving animation, so I aim for .5 seconds or less for each frame.To set the delay, go to the bottom right corner of the desired frame. Click on the the down-pointing caret and select your delay, or create your own by clicking Other... You can change the timing for each individual frame if you need them to move at different rates. If you want them to all be the same, there's a shortcut for that. Click on your first frame, hold shift, and click your last frame to highlight them all. Then, click on any frame to set the delay and all the others will change with it.Push the play button (the little triangle) at the bottom of your timeline to preview. You may have to change the looping options if it's not automatically repeating itself. The second button from the left in your timeline panel will have a few drop down options. From here, you can pick how often it's repeated—I always set mine on forever.
5. Export it
Once everything looks fabulous, export it!Go to File > Export > Save for Web (Legacy)... Next, choose a GIF option from the Preset drop down menu. The numbers next to the GIF option shows how many colors your animation will display. The higher the number, the more high quality the file. I usually select GIF 128 Dithered so my animations are vibrant without too much color banding. If you're using a photograph instead of graphics, choosing a Dithered option will help blend your colors together so they appear smoother.Keep in mind that using a Dithered option increases your file size. If your GIF is mostly made up of graphics, then a No Dither option will be best.If you're using your GIF as a post on Instagram, you'll need to export it as a video instead. Otherwise, your GIF won't play when you post. To do this, go to File > Export > Render Video...I typically leave the settings as-is, with the H.264 format and High Quality preset. Once you pick a place to save it, click Render and you're good to go!
 There you have it! GIFs are a perfect way to grab your audience's attention in a clever way. Create them for sales, tutorials, holidays, recipes, emails, social media—the options are endless! If you ever need a helping hand to make awesome GIFs or have questions, don't be afraid to drop me a line! Used properly, GIFs can create an amazing impact on your audience and boost your brand awareness. So get to it! :)
Do you currently use GIFs in your marketing? I'd love to know in the comments below!
Want more great tips? Join thousands of subscribers and receive monthly blog updates straight to your inbox!
[yikes-mailchimp form="1"]
